
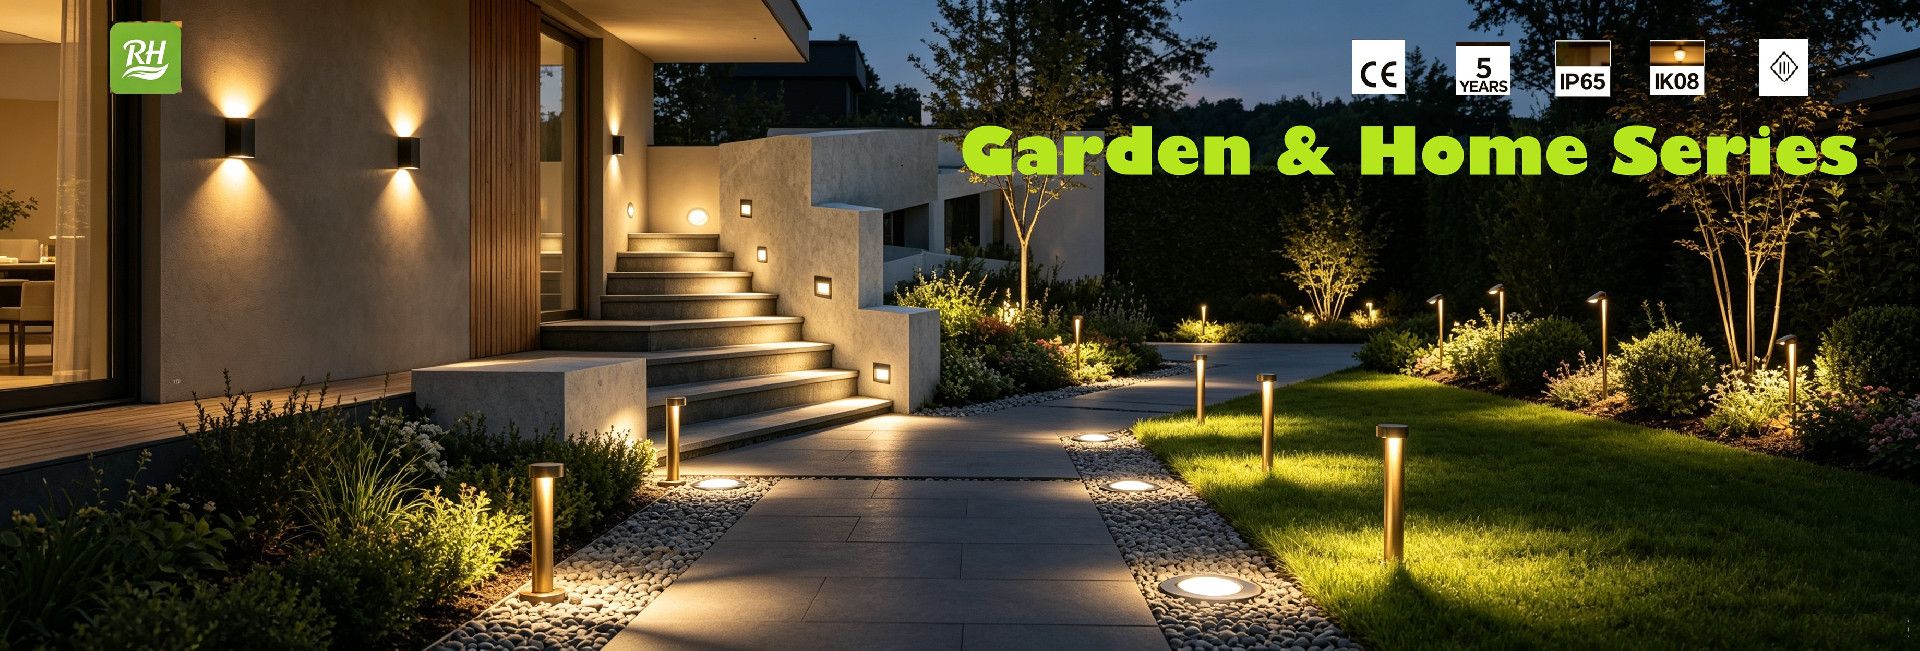


Products Description
R Series LED flood light selection guide
R Series LED flood lights are best used as a model-family selection path for outdoor facade, landscape, sign, bridge-detail, and architectural projection projects. The customer source table lists R110, R120, R135, R150, R170, R200, Q225, Q260, Q300, and Q340 rows, with reference power steps from compact 12W-class models through the Q340 160W row and upper option ranges noted in the table.
Use this page to choose a starting model, beam direction, lens path, and project-confirmation checklist before final quotation. Treat body finish, mounting form, color output, control preference, drawings, photometric files, and final model code as confirmation items for the selected row.
Which R Series model should I compare first?
| Website model link | Source-table reference | Reference power | Good starting use |
|---|---|---|---|
| R110 | R110 source row | 12-15W | Small facade accents, signs, short setback landscape features |
| R120 | R120 source row | 18W | Accent work that needs a little more output than R110 |
| R135 | R135 source row | 24W | Columns, garden objects, wall details, and compact architectural features |
| R150 | R150 source row | 36W | Medium facade sections and stronger sign or tree accents |
| R170 | R170 source row | 48W | Medium projection where target distance and beam control both matter |
| R200 | R200 source row | 60W | Larger details, higher mounting points, and stronger compact flood-light work |
| R225 site page | Q225 source row | 80W | 225-class site link; confirm final model naming and selected option |
| R260 site page | Q260 source row | 100W | Higher-output facade and landscape projection planning |
| R300 site page | Q300 source row | 120W | Larger surfaces, longer setbacks, and stronger outdoor projection |
| Q340 | Q340 source row | 160W reference; upper option range noted in source table | Upper-tier comparison when the project needs the strongest family option |
How should beam and lens choices be planned?
| Planning need | Source-table clue | How to use it safely |
|---|---|---|
| Tight accent or longer throw | Several rows show 3-degree or 4-degree narrow-beam references. | Use these as starting points for columns, signs, tree trunks, bridge details, or facade accents where the target is specific and spill must be controlled. |
| Wider aiming flexibility | Selected rows list 24 mm lens paths with 6-60-degree, 8-60-degree, or 12-60-degree ranges. | Use the wider rows when the target is broader, the setback is short, or the layout needs softer overlap between fixtures. |
| Facade wash planning | Medium and higher rows give more output choices for larger surfaces. | Confirm wall height, fixture setback, aiming direction, surface reflectance, and viewer sightlines before choosing the final optic. |
| Glare-sensitive sites | The source table gives model and lens paths, not a finished site layout. | Check shield position, aiming angle, mounting height, and no-spill zones before approving the beam path. |
Project-fit map for outdoor projection buyers
| Project condition | Best starting range | Confirm before selection |
|---|---|---|
| Small signs, garden details, columns, or facade accents. | R110, R120, or R135. | Target size, mounting point, beam width, color output, and cable exit direction. |
| Medium facade areas, trees, wall details, or commercial landscape zones. | R150, R170, or R200. | Setback distance, beam overlap, bracket angle, body finish, and required project files. |
| Larger architectural surfaces or stronger projection requirements. | 225-class, 260-class, 300-class, or Q340 comparisons. | Final model naming, lens choice, heat position, aiming plan, and site drawing inputs. |
| Very large area lighting or high-pole work. | Compare with high-power flood light planning or pole-mounted spotlight planning. | Do not force a compact family into a broad-area task without checking throw distance and target coverage. |
Buyer checklist before quoting the R Series family
- Define the illuminated object: facade column, sign face, tree, sculpture, wall section, bridge detail, path edge, or landscape feature.
- Record mounting height, setback distance, aiming direction, viewer position, and any no-spill boundary.
- Select a starting wattage row from the source-backed model map, then confirm whether a narrower or wider lens path is needed.
- Confirm color output and control preference as project options rather than default assumptions.
- Ask for the exact model code, body finish, mounting form, drawing, image, and project-file package for the selected configuration.
- Use download resources and related category pages such as outdoor spotlights, high-power flood lights, and pole-mounted spotlights when the R Series range is not the best fit.
Common R Series selection mistakes
| Mistake | Why it causes rework | Better action |
|---|---|---|
| Choosing wattage before target geometry. | The same wattage can feel too narrow, too wide, or too intense if setback and aiming are not checked. | Start with target size, mounting point, and beam path, then choose the model row. |
| Treating the page range as one default specification. | The family includes multiple rows and option paths, so one line cannot describe every configuration. | Confirm the selected model code and option path for each project. |
| Using a narrow beam for every facade detail. | Narrow beams can create hot spots and dark gaps if the layout needs overlap. | Compare narrow and wider lens paths before approving the aiming plan. |
| Ignoring viewer glare and spill zones. | A strong fixture can still fail if it points into windows, roads, seating areas, or camera sightlines. | Check shielding, aiming angle, and useful light area before final selection. |
Why does this page include both R and Q model references?
The live product-family page links R110 through R300 plus Q340, while the customer source table labels the higher rows as Q225, Q260, Q300, and Q340. For fact-safe selection, this guide names the visible website links and also shows the source-table reference used for the wattage row.
How should I choose between R110-R200 and the higher-output rows?
Start with R110-R200 when the project is compact or medium-scale and the fixture can sit close to the target. Move toward the 225-class, 260-class, 300-class, or Q340 rows when setback distance, surface size, or target brightness calls for a stronger starting point.
Can one R Series model cover both narrow accents and broad wash?
Sometimes, but it should not be assumed. Several rows show narrow reference beams and selected wider lens paths, so the safer workflow is to match the optic to the actual target, mounting position, and viewer sightline instead of relying on wattage alone.
What details should be confirmed before final quotation?
Confirm model code, reference power, lens path, beam angle, color output, control preference, body finish, mounting form, cable route, drawing, image set, and project-file needs. This keeps the product page useful for selection while avoiding unsupported fixed claims.
Where should I go if the R Series is not the right fit?
Use outdoor spotlight planning for smaller focused projection, high-power flood light planning for broad or long-distance work, pole-mounted spotlight planning when the mounting point is elevated, or compact flood and spot light products to compare related product pages.
What source-backed option groups should be confirmed first?
The source table gives model rows and option paths, but it does not turn every path into one default product. Use the table below as a confirmation map: first choose the project scale, then confirm the exact row, lens path, beam path and drawing package.
| Selection group | Source-backed rows | Useful planning range | Confirm before quotation |
|---|---|---|---|
| Compact accent group | R110, R120, R135 | 12W-class through 24W-class rows, with selected wider lens paths listed in the source table | Target width, setback distance, fixture size and selected beam path. |
| Medium projection group | R150, R170, R200 | 36W-class through 60W-class rows, plus higher option paths on selected rows | Wall height, aiming point, overlap plan and bracket position. |
| Higher-output comparison group | Q225, Q260, Q300, Q340 source rows | 80W, 100W, 120W and 160W reference rows, with upper option ranges shown in the source table | Website naming, final model code, fixture image, selected lens path and approval files. |
How should the source table be read without overclaiming?
Read each row as an option record. A row can show more than one power path, lens diameter, angle path or light-source path. That means the public page should help buyers shortlist a family, while the final quote should still name the exact selected configuration.
| Source-table field | What it can support | What it should not imply | Safe wording |
|---|---|---|---|
| Item code | Model-family reference such as R110, R150, R200 or Q340 | That every website route uses identical source naming | Use website link plus source-table reference when names differ. |
| Power row | Reference wattage or option range for that row | One fixed output for every configuration | Describe it as a reference row or option path. |
| Lens and angle row | Narrow or wider beam planning path | One universal beam angle for all projects | Match beam path to target size, distance and glare limit. |
| Light-source path | Configuration-level component option in the table | Default component brand for all public enquiries | Confirm exact component path before final quotation. |
Which project inputs separate R Series from other flood-light families?
The R Series page is most useful when the buyer needs compact-to-higher-output outdoor projection selection inside one family. If the project is very broad, high-pole, or area-lighting driven, compare adjacent product families before forcing a match.
| Project input | R Series is a good starting point when... | Compare another family when... | Related path |
|---|---|---|---|
| Target surface | The target is a facade detail, sign, tree, sculpture, wall section or architectural feature | The target is a very large open area or high-pole coverage zone | High-power flood lights |
| Mounting condition | The fixture can be aimed from a wall, bracket, ground or compact projection position | The fixture must be positioned high on poles or across long distances | Outdoor spotlights |
| Beam requirement | The project needs a controlled narrow, medium or adjustable planning path | The project needs broad uniform area lighting first | Beam angle guide |
| Procurement stage | The buyer is shortlisting model rows before final configuration | The buyer already needs a finished drawing, calculation or approval package | Project discussion |
What should a buyer send for a cleaner R Series quotation?
A clear enquiry helps keep the final quote tied to the correct row instead of a generic wattage label. Send the target surface, mounting location, distance, preferred beam effect and required files.
| Buyer input | Useful detail | Why it matters | Example note |
|---|---|---|---|
| Target and scale | Facade column, sign, tree, bridge detail, wall section or landscape object | Connects the row choice to the real illuminated surface | “Target is a 3 m wide sign face with a short setback.” |
| Mounting geometry | Height, setback, aiming direction and bracket position | Controls beam path and glare risk | “Fixture will be mounted 4 m from the wall and aimed upward.” |
| Visual goal | Narrow accent, soft wall wash, stronger projection or low-glare emphasis | Prevents choosing by wattage alone | “Need controlled facade texture, not broad area lighting.” |
| Approval files | Drawing, image, selected model code, finish and project document list | Defines what must be confirmed before production discussion | “Please compare R150 and R170 paths with drawing support.” |
