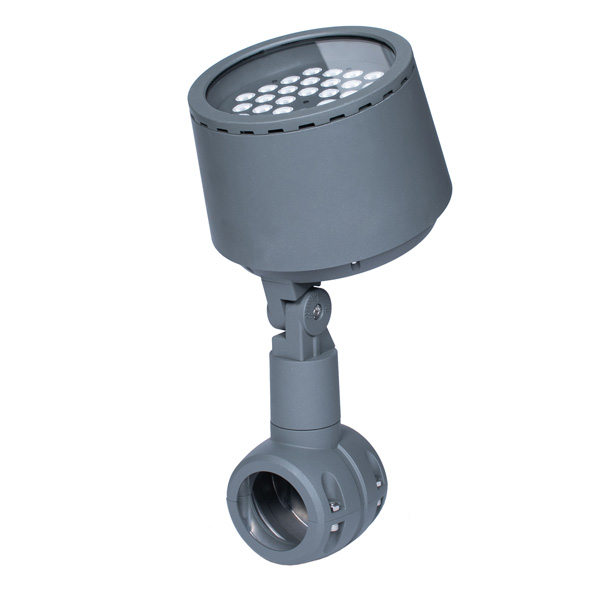
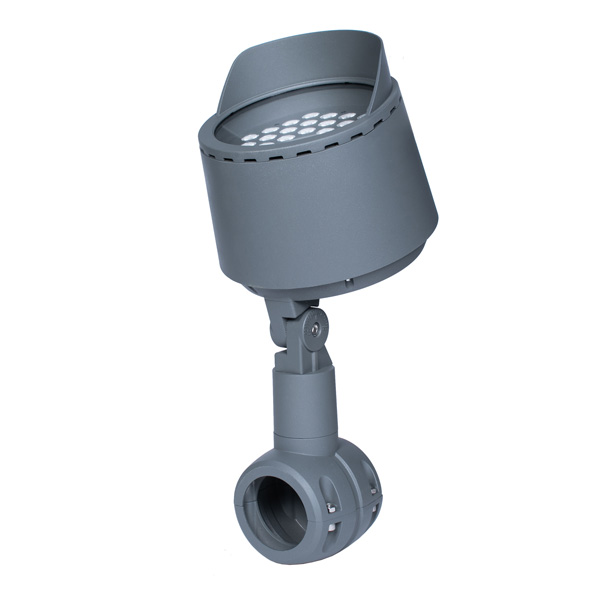
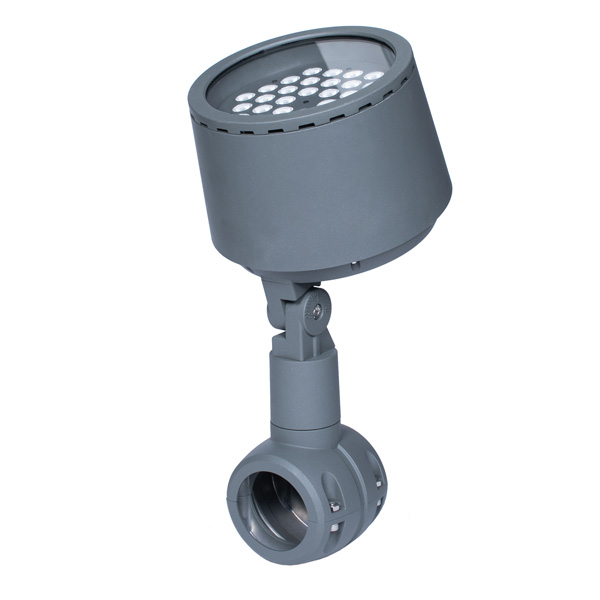
80W Pole-Mounted Landscape Spotlight for Outdoor Projection Planning
80W pole-mounted landscape spotlight pages are most useful when a project needs an elevated fixture position for trees, facades, plazas, signage, park nodes, canopy lighting or longer-distance outdoor projection. This page keeps the 80W pole-mounted product identity while treating beam, mounting height, finish, protection target, color-output plan, control method and project-file set as model-confirmed details.
The available source material supports pole-mounted floodlight planning for architectural and landscape scenes in the 80W-400W range. It does not support old fixed protection numbers, controller names, default color-output abbreviations, hard document-status claims, LED-brand claims or service promises as default public specifications.
Where Is An 80W Pole-Mounted Spotlight A Good Fit?
| Scene | Planning role | Buyer-side check |
|---|
| Trees and canopy areas | Raise the light position for stronger reach and cleaner aiming around landscape features. | Check mounting height, branch position, beam direction and viewing angle. |
| Facade and signage projection | Place the fixture away from the wall when ground or wall mounting is not preferred. | Check setback distance, target width, surface color and glare direction. |
| Plazas and park nodes | Support wider outdoor zones that need organized projection from poles or arms. | Check pole layout, cable route, maintenance access and pedestrian sight lines. |
| Architectural accents | Highlight entrances, columns, sculptures and site features from an elevated position. | Check target height, beam spread, fixture visibility and daytime appearance. |
What Should Be Confirmed Before Selecting The Model?
| Confirmation item | Why it matters | Useful buyer input |
|---|
| Mounting position | Pole height and arm direction decide how the beam reaches the target. | Site plan, pole location, arm length, mounting height and target distance. |
| Target surface | Trees, stone, painted walls, signs and metal surfaces reflect light differently. | Photos, elevations, material type, surface color and desired visual effect. |
| Beam and aiming | Projection needs enough reach without creating spill light or discomfort. | Beam preference, setback distance, target width and viewing direction. |
| Outdoor protection target | Exposure changes with pole height, rain direction, cleaning method and cable entry. | Installation position, cable route, drainage condition and maintenance access. |
| Project file set | Review is clearer when drawings, photos and comparison notes are aligned. | Model list, drawings, quantity plan, image reference and quotation notes. |
How Does 80W Fit Into A Pole-Mounted Range?
| Range position | Typical planning fit | What to compare |
|---|
| Lower high-output entry | Targets that need elevated projection but do not require the largest floodlight families. | Distance, beam width, pole height and target size. |
| Middle project option | Facade details, trees, signs and plaza features where beam control matters. | Glare, aiming angle, finish, cable route and installation hardware. |
| Step toward larger projection | Projects that may later compare stronger pole-mounted or high-power families. | Site scale, brightness target, maintenance access and power layout. |
When Should Pole Mounting Be Chosen?
Choose pole mounting when the fixture needs elevation, a clear aiming angle, or a position away from walls and planting beds. It can help project teams light trees, signage, facades and park features without placing every fixture at ground level.
If the target is close, low or decorative, compare compact garden spike or small flood and spot families before choosing an elevated pole-mounted layout.
How Should Glare And Spill Light Be Managed?
| Question | Practical answer | Next action |
|---|
| Who can see the fixture directly? | Elevated fixtures may be visible from paths, windows, terraces and roadways. | Mark viewing positions before choosing aiming direction. |
| Is the target narrow or broad? | Narrow targets need tighter aiming, while broad surfaces need a softer planning approach. | Confirm target width, setback distance and beam preference. |
| Can the fixture be serviced safely? | Pole position affects later adjustment, cleaning and access work. | Check access route, pole height and cable-service plan. |
For broader aiming logic, review the beam angle guide for facade and landscape lighting.
Which Adjacent Product Paths Should Buyers Compare?
What Information Helps Radiant Honor Review The Project?
| Buyer input | Helpful detail | How it improves selection |
|---|
| Site plan | Pole location, target location, path layout and nearby buildings. | Helps compare mounting height, aiming direction and fixture spacing. |
| Target photos | Tree, facade, sign, sculpture, plaza or park node images. | Helps match beam planning to the real surface. |
| Installation condition | Pole type, arm direction, cable route and access route. | Helps check mounting and service access before model confirmation. |
| Project file needs | Datasheet, drawing, image reference or comparison table. | Helps prepare a clearer buyer-side review package. |